Advanced Syntax
- Author
Aplus Team
- Last-modified
11.11.2021
- Main questions:
What are some of the most complex directives used in A+?
- Topics:
In this section, we will talk about:
- Requirements:
You only need basic computing and programming skills, prior knowledge about markup languages might be beneficial.
A basic environment set-up, as detailed in Module 2.
Prior understanding about RST, as detailed in Chapter 3.1.
- Estimated reading time:
60 min.
Introduction
In this chapter, we will cover some of the most advanced RST directives such as csv tables, definition lists, toctrees, code-blocks, downloads, cross-references among others. The use of advanced syntax will allow you to navigate through different chapters, create responsive designs, share blocks of code with highlighted syntax, and add downloadable files.
Structural elements
Toctree
Toctree stands for "Table of Content Tree", and it is perhaps one of the most important directives for creating navigable content. This directive allows to organise and include the files that are going to be part of the course. Therefore, the files that are not included in any toctree directive will not be rendered and therefore, will not be visible in the web site.
The toctree directive can point to other toctree directives and thus create the tree structure of the files.
Typically, each course has an index.rst file with the toctree directive which points to each module's index.rst file.
Subsequently, each module index.rst file points to the chapters of the module.
This grouping allows to have a tree structure in the course content and organize the course more logically.
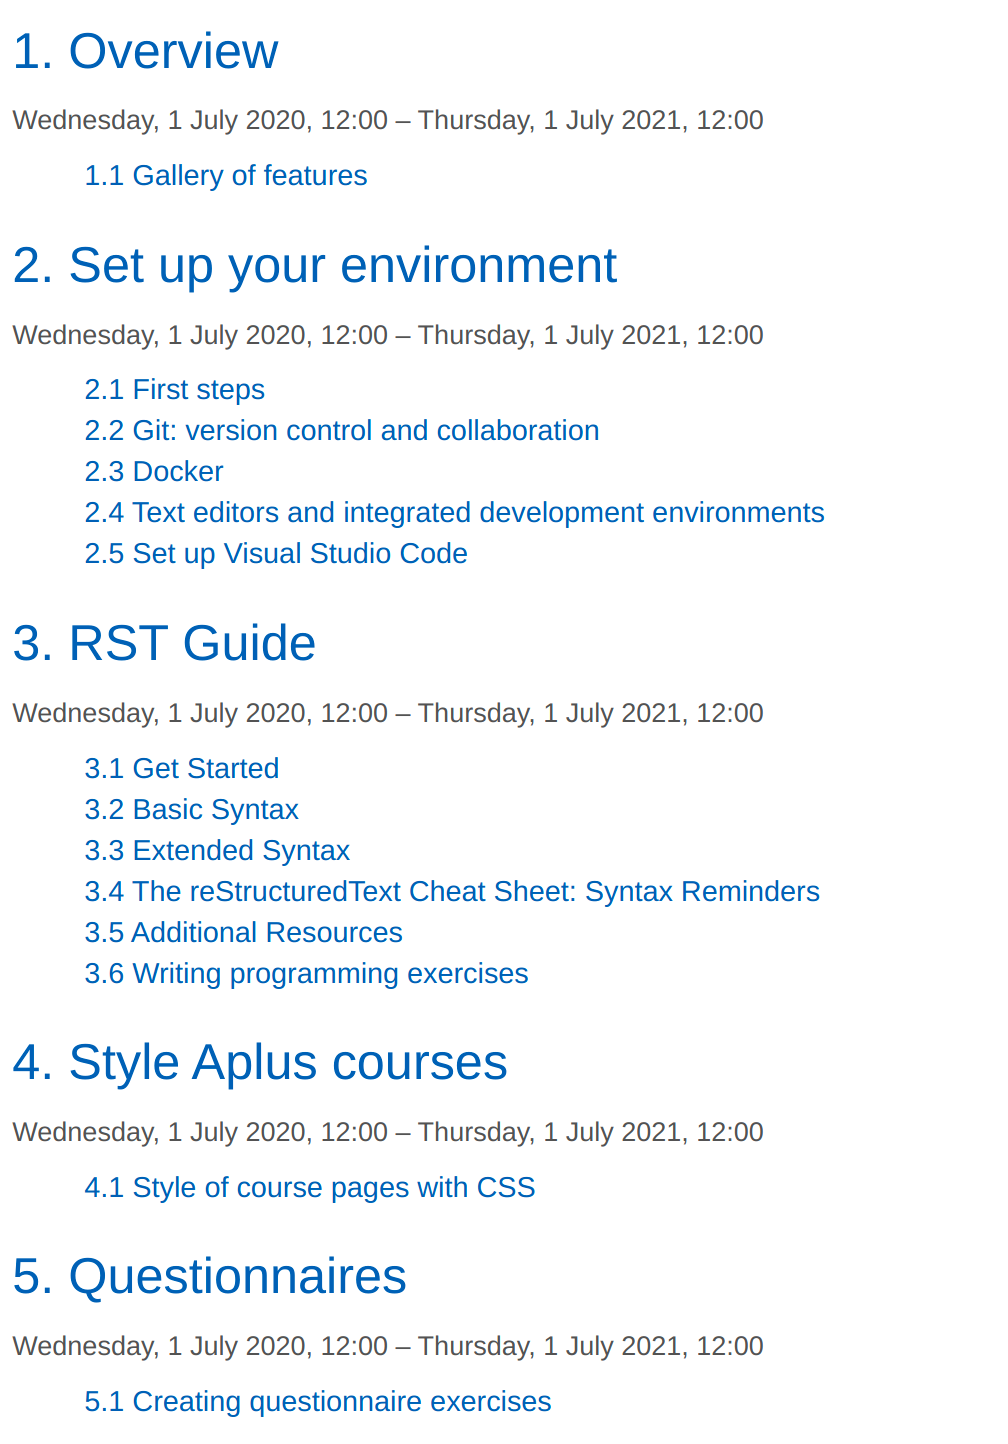
The image below shows the directory structure of the Aplus manual and
the way it is rendered in the web browser.
The index.rst file located in the line 2 contains the toctree with all the modules of the course,
while the index.rst files presented in lines 5, 12, 18, 21 and 24 contain the index.rst files
with the toctree directives that point to each chapter inside the module.
 1aplus-manual
 2├── index.rst
 3├── overview
 4│   ├── gallery.rst
 5├── ├── index.rst
 6├── set_up_environment
 7│   ├── first_steps.rst
 8│   ├── git.rst
 9│   ├── docker.rst
10│   ├── vs_code.rst
11│   ├── additional_resources.rst
12│   └── index.rst
13├── rst_guide
14│   ├── get_started.rst
15│   ├── basic_syntax.rst
16│   ├── extended_syntax.rst
17|   ├── additional_resources_and_cheatsheet.rst
18│   └── index.rst
19├── style_aplus
20│   ├── css.rst
21│   └── index.rst
22├── questionnaires
23│   ├── questionnaires.rst
24│   └── index.rst
25|
26...
Warning
Only the RST files included inside a toctree directive are included in the course structure.
The toctree directive refers to the files by name, but such names should not include the file extension, i.e.
.rst.You should use relative document names (not beginning with a slash). The toctree should be relative to the files. You can review our documentation about the structure of the course.
Toctree syntax consists of the toctree directive, optional directive options and the list of files that will be included in the tables of content.
Code example
input: RST
.. toctree::
  :maxdepth: 2

    get_started
    basic_syntax
    advanced_syntax
    additional_resources_and_cheatsheet
rendered: HTML
Container
The container represents an HTML div with the container class in it. It can be used to group certain body elements. It can also be used to add some styles to your course.
Warning
The container element is quite flexible and you can use it as you wish. However, you should follow some of the CSS guidelines about container classes.
Images and figures syntax consist of the directive name, the image URI, and some directive options.
Code example
input: RST
.. container:: admonition success

  .. div:: row

    .. div:: col-sm-12 col-md-6 border

      This is div inside a container. This div occupied half of the container in medium to extra large screens and the whole container in small to extra small screens.

    .. div:: col-sm-12 col-md-6 border

      This is a second div inside the same container. This div occupied half of the container in medium to extra large screens and the whole container in small to extra small screens.
rendered: HTML
This is div inside a container. This div occupied half of the container in medium to extra large screens and the whole container in small to extra small screens.
This is a second div inside the same container. This div occupied half of the container in medium to extra large screens and the whole container in small to extra small screens.
Body elements
Images
In order to include images in RST, it is possible to make use of two RST directives, figure and image.
Both of them have similar options.
However, the figure directive has a couple more options than the image directive.
Images are a great tool to illustrate some step by step procedures.
In addition, you can make use of animated images to make your content even more dynamic:
animated gifs.
Note, that the example below makes use of the div directive to group the images in the same line.
You can always make use of the Bootstrap classes to organize images and any other components in your course.
Warning
You can use relative or absolute paths to your images.
The syntax of images and figures consists of the directive name, the image URI, and some directive options. Read the official documentation for adjusting the image size and the aligment.
Code example
input: RST
.. div:: row

  .. div:: col-12 col-md-6

    .. image:: /images/fireworks.jpg
      :alt: This is a sample image.
      :width: 380px
      :align: center
      :class: img-fluid rounded-circle

    This is not a caption, this is only a paragraph below the image.

  .. div:: col-12 col-md-6

    .. figure:: /images/fireworks.jpg
      :alt: This is a sample figure.
      :scale: 50%
      :align: center
      :class: img-fluid img-thumbnail

      **Image X.** This is the caption.
rendered: HTML

This is not a caption, this is only a paragraph below the image.
Image X. This is the caption.
Lists
Lists are a good tool for presenting information in a sequential order. In the previous chapter, we presented some Basic Lists that can be used for in RST. Nevertheless, RST provides more advanced list that allows to organize information in a more logical manner.
Field list
The field list are good to resemble database records. This type of list can have different applications, but those applications are better covered in the official documentation.
Field list syntax consist of the term surrounded by colons, a whitespace and the information related to that term.
Code example
input: RST
:Date: May 08, 2020
:Version: 1.0
:Authors: - Author One
          - Author Two
:Indentation: Since the field marker may be quite long, the second
  and subsequent lines of the field body do not have to line up
  with the first line, but they must be indented relative to the
  field name marker, and they must line up with each other.
rendered: HTML
- Date
May 08, 2020
- Version
1.0
- Authors
Author One
Author Two
- Indentation
Since the field marker may be quite long, the second and subsequent lines of the field body do not have to line up with the first line, but they must be indented relative to the field name marker, and they must line up with each other.
Option list
The option list is widely used for explaining command-line options. This list has already a set of built-in options for this type of list. However, we will not cover those options here, but you can find the information in the official documentation.
Option list's syntax consists of the option parameter, followed by the argument placeholder, and the description.
Code example
input: RST
-a         Output all.
-b         Output both (this description is
          quite long).
-c arg     Output just arg.
--long     Output all day long.

-p         This option has two paragraphs in the description.
          This is the first.
rendered: HTML
- -a
Output all.
- -b
Output both (this description is quite long).
- -c arg
Output just arg.
- --long
Output all day long.
- -p
This option has two paragraphs in the description. This is the first.
Tables
In the previous chapter, we saw how to create tables using markup. However, RST allows to create tables using some more advanced options and perhaps more user-friendly configurations.
List Table
List tables allow to set the number of columns and the headers through the directive options. This type of table reduces the amount of manual typing needed in the basic tables.
Warning
Each sublist must contain the same number of items. Otherwise, the table will not be rendered.
Cells cannot be combined.
List tables syntax consist of the directive name, the table title, the table options, and the list of items, which are split by rows.
Code example
input: RST
.. rst-class:: table table-success table-striped table-striped-columns table-hover

.. list-table:: This is a List Title
  :widths: 25 25 50
  :header-rows: 1

  * - Heading row 1, column 1
    - Heading row 1, column 2
    - Heading row 1, column 3
  * - Row 1, column 1
    -
    - Row 1, column 3
  * - Row 2, column 1
    - Row 2, column 2
    - Row 2, column 3
rendered: HTML
Heading row 1, column 1 |
Heading row 1, column 2 |
Heading row 1, column 3 |
|---|---|---|
Row 1, column 1 |
Row 1, column 3 |
|
Row 2, column 1 |
Row 2, column 2 |
Row 2, column 3 |
A CSV table
CSV tables are a convenient directive for importing CSV files and rendering them inside the course content. Nevertheless, you could also use this directive by creating the table manually inside the RST document using csv notation (comma-separated values).
Warning
There is no support for checking that the number of columns in each row is the same.
Block markup and inline markup within the cell are supported.
CSV tables' syntax consists of the directive name, the table title, some options and the content or file/URL.
Code example
input: RST
.. rst-class:: table table-secondary table-striped

  .. csv-table:: This is a CSV Table imported from a file.
    :file: ../course_material/file.csv
    :widths: 30, 70, 30
    :header-rows: 1

.. rst-class:: table table-bordered table-hover table-striped-columns

  .. csv-table:: CSV table extracted from the people.sc.fsu.edu
    :header: "First Name", "Last Name", "Street", "County", "State", "Postal Code"
    :widths: 25, 25, 15, 15, 10, 10

    John,Doe,120 Jefferson st.,Riverside, NJ, 08075
    Jack,McGinnis,220 hobo Av.,Phila, PA,09119
    "John ""Da Man""",Repici,120 Jefferson St.,Riverside, NJ,08075
    Stephen,Tyler,"7452 Terrace ""At the Plaza"" road",SomeTown,SD, 91234
    Anne, Blankman,,SomeTown, SD, 00298
    "Joan ""the bone""",Jet,"9th, at Terrace plc",Desert City,CO,00123
rendered: HTML
Header a |
Header B |
Header C |
|---|---|---|
Item 1a |
Item 1b |
None |
Item 1b |
Item 2b |
None |
Item 2c |
None |
First Name |
Last Name |
Street |
County |
State |
Postal Code |
|---|---|---|---|---|---|
John |
Doe |
120 Jefferson st. |
Riverside |
NJ |
08075 |
Jack |
McGinnis |
220 hobo Av. |
Phila |
PA |
09119 |
John "Da Man" |
Repici |
120 Jefferson St. |
Riverside |
NJ |
08075 |
Stephen |
Tyler |
7452 Terrace "At the Plaza" road |
SomeTown |
SD |
91234 |
Anne |
Blankman |
SomeTown |
SD |
00298 |
|
Joan "the bone" |
Jet |
9th, at Terrace plc |
Desert City |
CO |
00123 |
Block code
This is another directive provided by Sphinx.
This snippet of code use the Pygments to highlight the specified language.
Nevertheless, there is a limited number of supported languages.
The example below shows a snippet of code that is rendered through the code-block directive.
In this example, we can see that we have numbered the code lines and also highlighted the lines 14, 18 and 22.
All of this is possible thanks to the built-in options of the code-block directive.
Code example
 1ethernet_devices = [1, [7], [2], [8374163], [84302738]]
 2usb_devices = [1, [7], [1], [2314567], [0]]
 3
 4# The long way
 5all_devices = [
 6    ethernet_devices[0] + usb_devices[0],
 7    ethernet_devices[1] + usb_devices[1],
 8    ethernet_devices[2] + usb_devices[2],
 9    ethernet_devices[3] + usb_devices[3],
10    ethernet_devices[4] + usb_devices[4]
11]
12
13# Some comprehension magic
14all_devices = [x + y for x, y in zip(ethernet_devices, usb_devices)]
15
16# Let's use maps
17import operator
18all_devices = list(map(operator.add, ethernet_devices, usb_devices))
19
20# We can't forget our favorite computation library
21import numpy as np
22all_devices = np.add(ethernet_devices, usb_devices)
input: RST
.. code-block:: python
  :linenos:
  :emphasize-lines: 14,18,22

  ethernet_devices = [1, [7], [2], [8374163], [84302738]]
  usb_devices = [1, [7], [1], [2314567], [0]]

  # The long way
  all_devices = [
      ethernet_devices[0] + usb_devices[0],
      ethernet_devices[1] + usb_devices[1],
      ethernet_devices[2] + usb_devices[2],
      ethernet_devices[3] + usb_devices[3],
      ethernet_devices[4] + usb_devices[4]
  ]

  # Some comprehension magic
  all_devices = [x + y for x, y in zip(ethernet_devices, usb_devices)]

  # Let's use maps
  import operator
  all_devices = list(map(operator.add, ethernet_devices, usb_devices))

  # We can't forget our favorite computation library
  import numpy as np
  all_devices = np.add(ethernet_devices, usb_devices)
rendered: HTML
 1ethernet_devices = [1, [7], [2], [8374163], [84302738]]
 2usb_devices = [1, [7], [1], [2314567], [0]]
 3
 4# The long way
 5all_devices = [
 6    ethernet_devices[0] + usb_devices[0],
 7    ethernet_devices[1] + usb_devices[1],
 8    ethernet_devices[2] + usb_devices[2],
 9    ethernet_devices[3] + usb_devices[3],
10    ethernet_devices[4] + usb_devices[4]
11]
12
13# Some comprehension magic
14all_devices = [x + y for x, y in zip(ethernet_devices, usb_devices)]
15
16# Let's use maps
17import operator
18all_devices = list(map(operator.add, ethernet_devices, usb_devices))
19
20# We can't forget our favorite computation library
21import numpy as np
22all_devices = np.add(ethernet_devices, usb_devices)
Literal include
The literalinclude directive allows you to include code files and show then as snippets of code within the course content.
This is ideal for showing code examples stored in external files.
In addition, this directive allows to emulate file comparison.
Warning
The path of the file is relative to the path of the chapter file. However, you can also use absolute paths.
This supports many of the code-block options such as lineos and emphasize-lines.
You may include only some selected lines of the file.
This can be used to compare two different files.
The literalinclude syntax consists of the directive name, the filepath and the code-block options.
 1--- /build/aplus_manual_master/course_material/python_examples/example.py.orig
 2+++ /build/aplus_manual_master/course_material/python_examples/example.py
 3@@ -1,7 +1,9 @@
 4 def merge_two_dicts(a, b):
 5-    c = a.copy()
 6-    c.update(b)
 7+    c = a.copy()   # make a copy of a
 8+    c.update(b)    # modify keys and values of a with the ones from b
 9     return c
10+
11
12 a = { 'x': 1, 'y': 2}
13 b = { 'y': 3, 'z': 4}
14+print(merge_two_dicts(a, b)) # {'y': 3, 'x': 1, 'z': 4}
 1# Prepended comment
 2def merge_two_dicts(a, b):
 3    c = a.copy()   # make a copy of a
 4    c.update(b)    # modify keys and values of a with the ones from b
 5    return c
 6
 7a = { 'x': 1, 'y': 2}
 8b = { 'y': 3, 'z': 4}
 9print(merge_two_dicts(a, b)) # {'y': 3, 'x': 1, 'z': 4}
10# Appended comment
Code example
input: RST
.. literalinclude:: /course_material/python_examples/example.py
  :caption: Python diff example
  :language: python
  :linenos:
  :diff: /course_material/python_examples/example.py.orig

.. literalinclude:: /course_material/python_examples/example.py
  :caption: Python example
  :language: python
  :prepend: # Prepended comment
  :append: # Appended comment
  :linenos:
  :lines: 1-5,7-11
rendered: HTML
 1--- /build/aplus_manual_master/course_material/python_examples/example.py.orig
 2+++ /build/aplus_manual_master/course_material/python_examples/example.py
 3@@ -1,7 +1,9 @@
 4 def merge_two_dicts(a, b):
 5-    c = a.copy()
 6-    c.update(b)
 7+    c = a.copy()   # make a copy of a
 8+    c.update(b)    # modify keys and values of a with the ones from b
 9     return c
10+
11
12 a = { 'x': 1, 'y': 2}
13 b = { 'y': 3, 'z': 4}
14+print(merge_two_dicts(a, b)) # {'y': 3, 'x': 1, 'z': 4}
 1# Prepended comment
 2def merge_two_dicts(a, b):
 3    c = a.copy()   # make a copy of a
 4    c.update(b)    # modify keys and values of a with the ones from b
 5    return c
 6
 7a = { 'x': 1, 'y': 2}
 8b = { 'y': 3, 'z': 4}
 9print(merge_two_dicts(a, b)) # {'y': 3, 'x': 1, 'z': 4}
10# Appended comment
Inline elements
Cross-reference
Hyperlinks can be used to link external websites or to link to different part of the course.
However, for linking to different sections or chapters of the course, we use the :ref: and the :doc: roles.
These two roles create a link to the determined target indicated by the role.
However, in order to make these cross-references work, we should create or have specific targets.
In the case of the :ref: role, we define the target as .. _target-name:.
This syntax adds an id to the element that is immediately followed by and creates the target for the link.
Warning
You may add targets above titles.
The name property adds an id to the respective element and can be used as a target.
All the headings/titles create target links automatically, therefore you should try to avoid having the same title twice throughout the whole course since it can cause conflicts. If this is the case, you can override the target with an explicit target on top of the title.
In the case of the :doc: role, the targets are the documents themselves.
Therefore, the link to those documents should be an absolute or relative path.
Cross-referencing syntax consists of the :ref: or :doc: roles, with the target as the interpreted text of the roles.
Code example
input: RST
.. _examples:

Examples
--------

This is the text of the section.

It refers to the section itself, see :ref:`examples`.

In addition, see the chapter :doc:`questionnaires </questionnaires/questionnaires>`.
rendered: HTML
Examples
This is the text of the section.
It refers to the section itself, see Examples.
In addition, see the chapter questionnaires.
Substitution reference
Substitution references allow you to define some value once and use it in multiple locations without copy-pasting the same value manually everywhere. The substition could, for example, contain some often repeated phrase.
You could compare substitutions to constant variables in programming. You define the constant once and then you use it anywhere. If you change the value of the constant, it automatically affects all the locations where the constant has been used.
The substitution reference can be used in pair with hyperlinks by appending an underscore to the end. The substitution element can also be used to replace images.
Warning
In order to use a substitution reference, you need a sustitution definition.
Substitution references are case-sensitive.
Substitution reference's syntax consists of the reference text surrounded by vertical bars. In case of implementing links, the underscore should be added at the end. On the other hand, the syntax for the substitution definition consists of two consecutive dots followed by a whitespace, the reference name wrapped in vertical bars, followed by some directive type and the data.
Code example
input: RST
.. |RST| replace:: reStructuredText
.. _RST: http://docutils.sourceforge.net/rst.html

|RST|_ is the best
rendered: HTML
reStructuredText is the best
Download
This role allows you to attach downloadable files to your course. You can use this directive to provide the students with extra material such as PDF files and code templates.
The following file can be downloaded.
Code example
input: RST
The following :download:`file </course_material/example_file.txt>` can be downloaded.
rendered: HTML
The following file can be downloaded.
Dictionary/Glossary
The glossary directive is useful for defining terms that are used throughout the course.
Having a glossary may help the students get familiar with the terminology used in the course.
We recommend to have an independent chapter at the end of your course with the glossary directive.
You use the term role to link terms in the text content to the glossary with the definition of the term.
You use the glossary directive in some chapter in order to define all the terms.
Code example
This chapter has included many features of Sphinx. Have you tried the Sublime Text editor yet?
- Sphinx
Sphinx is a tool that makes it easy to create intelligent and beautiful documentation. It was originally created for the Python documentation, and it has excellent facilities for the documentation of software projects in a range of languages.
- Sublime Text
Sublime Text is a sophisticated text editor for code, markup and prose. You'll love the slick user interface, extraordinary features and amazing performance.
This chapter has included many features of :term:`Sphinx`.
Have you tried the :term:`Sublime Text` editor yet?

.. glossary::

  Sphinx
    Sphinx is a tool that makes it easy to create intelligent and beautiful documentation.
    It was originally created for the Python documentation, and
    it has excellent facilities for the documentation of software projects in a range of languages.

  Sublime Text
    Sublime Text is a sophisticated text editor for code, markup and prose.
    You'll love the slick user interface, extraordinary features and amazing performance.
Good practices for using links
In order to improve the readability of your RST markup, you should create a list of links in the bottom of the page and refer to those links using substitution names.
Example
Link to the Aplus manual git repo.
Sphinx is the best.
You can use this Geo Link.
Internal
We can use internal links, like Good practices for using links, referring to a section. However, since the link text uses the heading text verbatim, it breaks when the heading is changed later. It might be better to use your own labels above the headings and refer to the labels. Example link to the cross-reference section.
Warning
Remember that changing the title of your chapters and headings can break your references.
Hint
It is always a good idea to place the targets to these links above a heading.
It is also important to notice than in case the targets consist of more than one word,
it is necessary to surround the word with backticks `<any word>`.
Warning
Be careful using your links. Design the flow of your webpage and create a template for your links. It will help you to avoid breaking your links once they are defined.